Kategória: Tutorials

  • Airbrush Stencils 101: Your First 5 Projects

    Airbrush Stencils 101: Your First 5 Projects

    Why Stencils Are Perfect for Beginners

    Stencils are the perfect starting point for airbrush beginners because they eliminate the need for advanced drawing skills while allowing you to create professional-looking results immediately. They help you focus on mastering the airbrush trigger control, paint consistency, and spraying techniques without worrying about design creation.

    Essential Tools You’ll Need

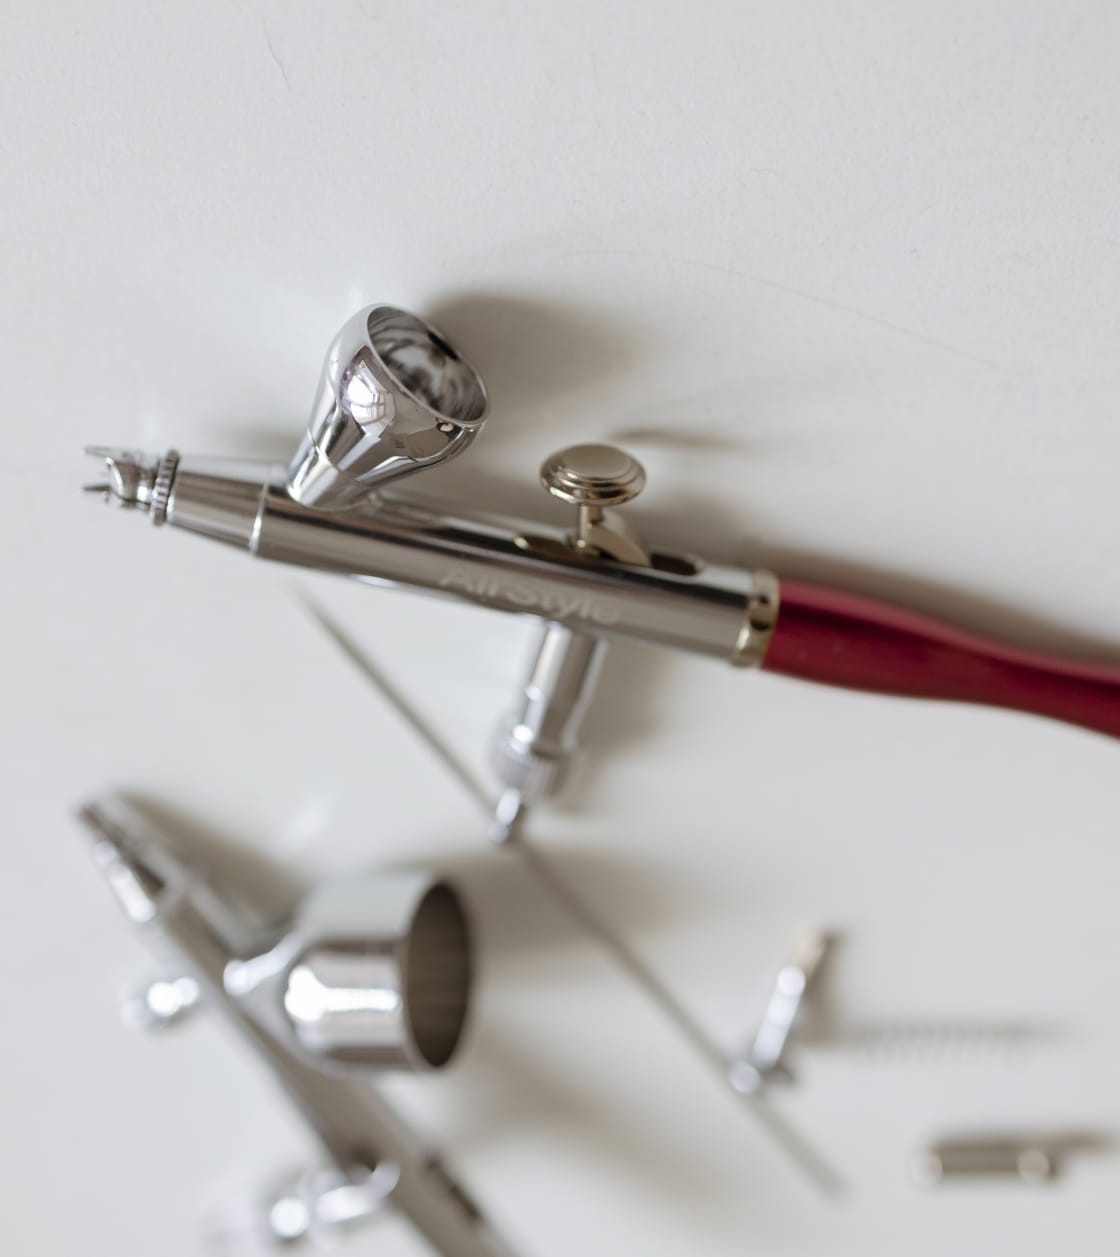
    • Airbrush gun (gravity feed recommended for beginners)
    • Compressor with moisture trap
    • Beginner stencil set
    • Low-tack adhesive spray
    • Airbrush paints
    • Practice surface (metal, plastic, or practice board)
    • Cleaning kit

    Project 1: Simple Monogram Technique

    Start with something personal but simple. A monogram uses basic shapes and letters to create custom artwork.

    1. Choose 2-3 initials
    2. Sketch them on stencil material
    3. Cut out with precision knife
    4. Apply to surface with light adhesive
    5. Spray light coats, building up color
    6. Carefully remove stencil

    Simple monogram using basic stencil letters. Notice the clean edges achieved with light, multiple coats.

    Project 2: Basic Camouflage Pattern

    Use torn paper or pre-cut camo stencils to create realistic camouflage effects. Layer 2-3 colors in organic shapes.

    Project 3: Gradation Fade with Masking

    Learn to create smooth color transitions by masking portions of your stencil between spray passes.

    Project 4: Two-Color Flame Design

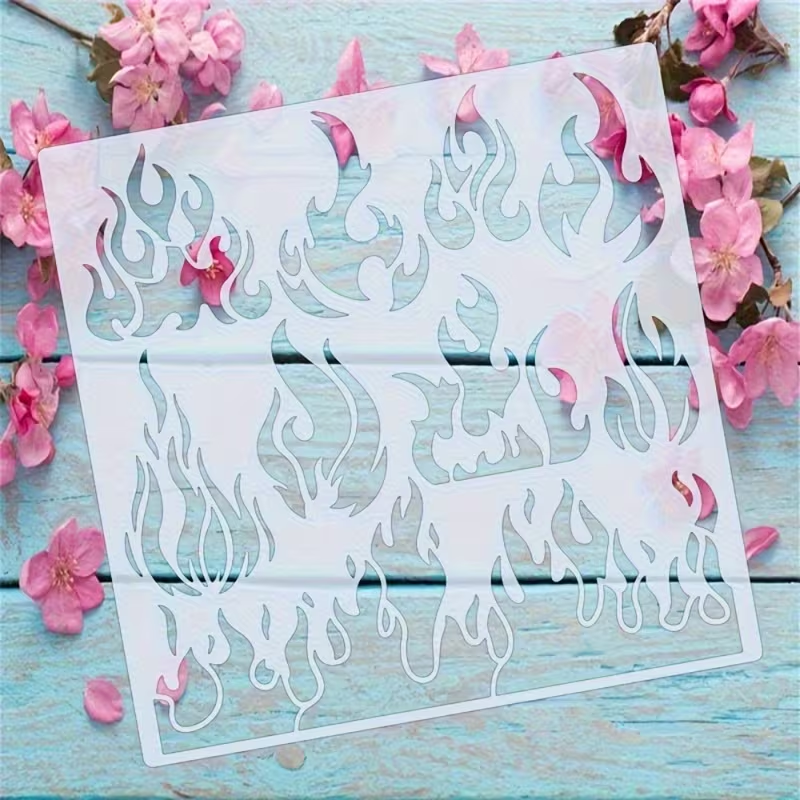
    Create dynamic flames using two complementary colors and a simple flame stencil. Focus on the fade between colors.

    Project 5: Simple Skull Silhouette

    Silhouettes are forgiving for beginners. Use a bold black skull stencil on any background color for instant impact

    Common Beginner Mistakes & How to Fix Them

    Too much paint at once

    Solution: Spray light coats from 6-8 inches away. Let each coat dry for 30 seconds before adding more

    Stencil not sticking properly

    Use low-tack adhesive spray and ensure surface is clean and dry

    Paint bleeding under stencil

    Press edges down firmly or use frisket film for complex shapes

    Rushing the process

    Patience is key. Let the paint dry completely before removing stencils


    Ready to Start Your Airbrush Journey?

    Get our Beginner’s Stencil Kit with everything mentioned in this tutorial
  • Choosing Your Stencil Material

    Choosing Your Stencil Material

    Home › Tutorials › Stencil Materials

    Vinyl vs. Mylar vs. Acetate: Complete Comparison

    FeatureVinylMylarAcetate
    DurabilityHighVery HighLow
    Reuse Potential5-10 times50+times1-2 times
    FlexibilityModerateHighLow
    Best forLarge ProjectsFine DetailsComplex Shapes
    Prise££££££

    Best Use Cases for Each Material

    Vinyl

    Perfect for automotive work, helmets, and large surfaces where durability matters more than fine detail

    Mylar

    Ideal for multi-use stencils, detailed artwork, illustrations, and projects requiring precise registration

    Acetate

    Best for one-off complex designs, prototypes, and intricate patterns where cutting ease is priority

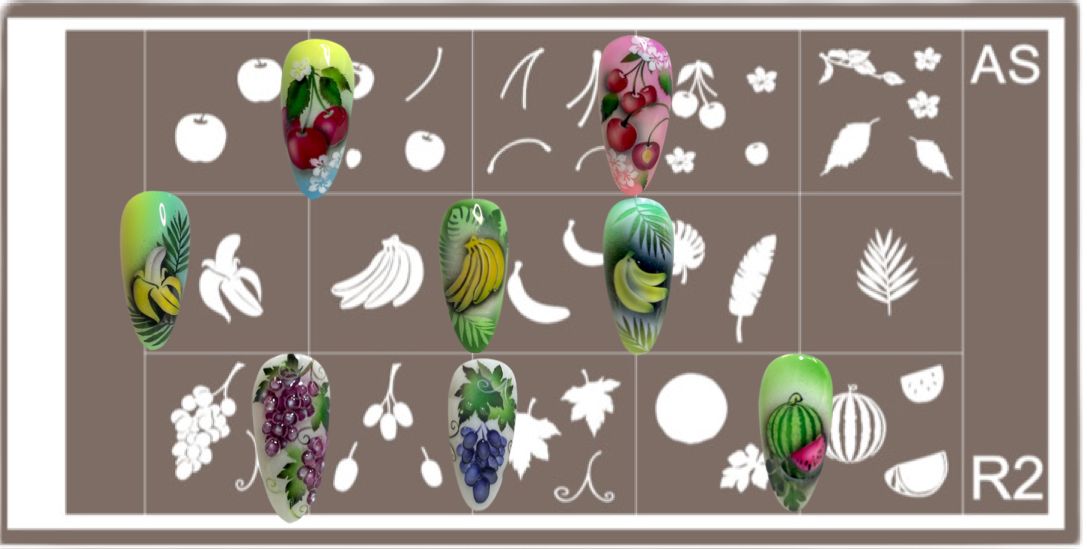
  • Nail Art Stencils: Salon Results at Home

    Nail Art Stencils: Salon Results at Home

    Home › Tutorials ›Salon Results at Home

    Step-by-Step: Perfect Application Technique

    1. Prepare nails: clean, buff, apply base coat
    2. Apply first color (base color) and let dry completely
    3. Position stencil while adhesive is still tacky
    4. Press down edges firmly, especially around nail curves
    5. Apply second color in light, even strokes
    6. Remove stencil immediately while paint is wet
    7. Seal with top coat

    Top 3 Beginner-Friendly Designs

    French Tip Variation

    Elevate classic French tips with geometric or floral patterns along the tip line

    Geometric Lines

    Clean, straight lines are easiest to master. Start with simple stripes or grids

    Small Florals

    Tiny flowers or leaves add delicate detail without requiring precision

    How to Layer Designs Like a Pro

    • Start with largest design elements first
    • Let each layer dry completely before adding next
    • Use registration marks for multi-stencil designs
    • Keep colors light – dark colors are harder to layer over
    • Practice on practice tips before real nails

    Sealing & Longevity Tips

    • Always use quality top coat
    • Seal edges by brushing top coat over polish and onto skin slightly
    • Reapply top coat every 2-3 days for extended wear
    • Avoid hot water for first 12 hours after application
    • Use cuticle oil daily to prevent chipping