Your First 5 Projects
Why Stencils Are Perfect For Beginners
Stencils are the perfect starting point for airbrush beginners because they eliminate the need for advanced drawing skills while allowing you to create professional-looking results immediately. They help you focus on mastering the airbrush trigger control, paint consistency, and spraying techniques without worrying about design creation.
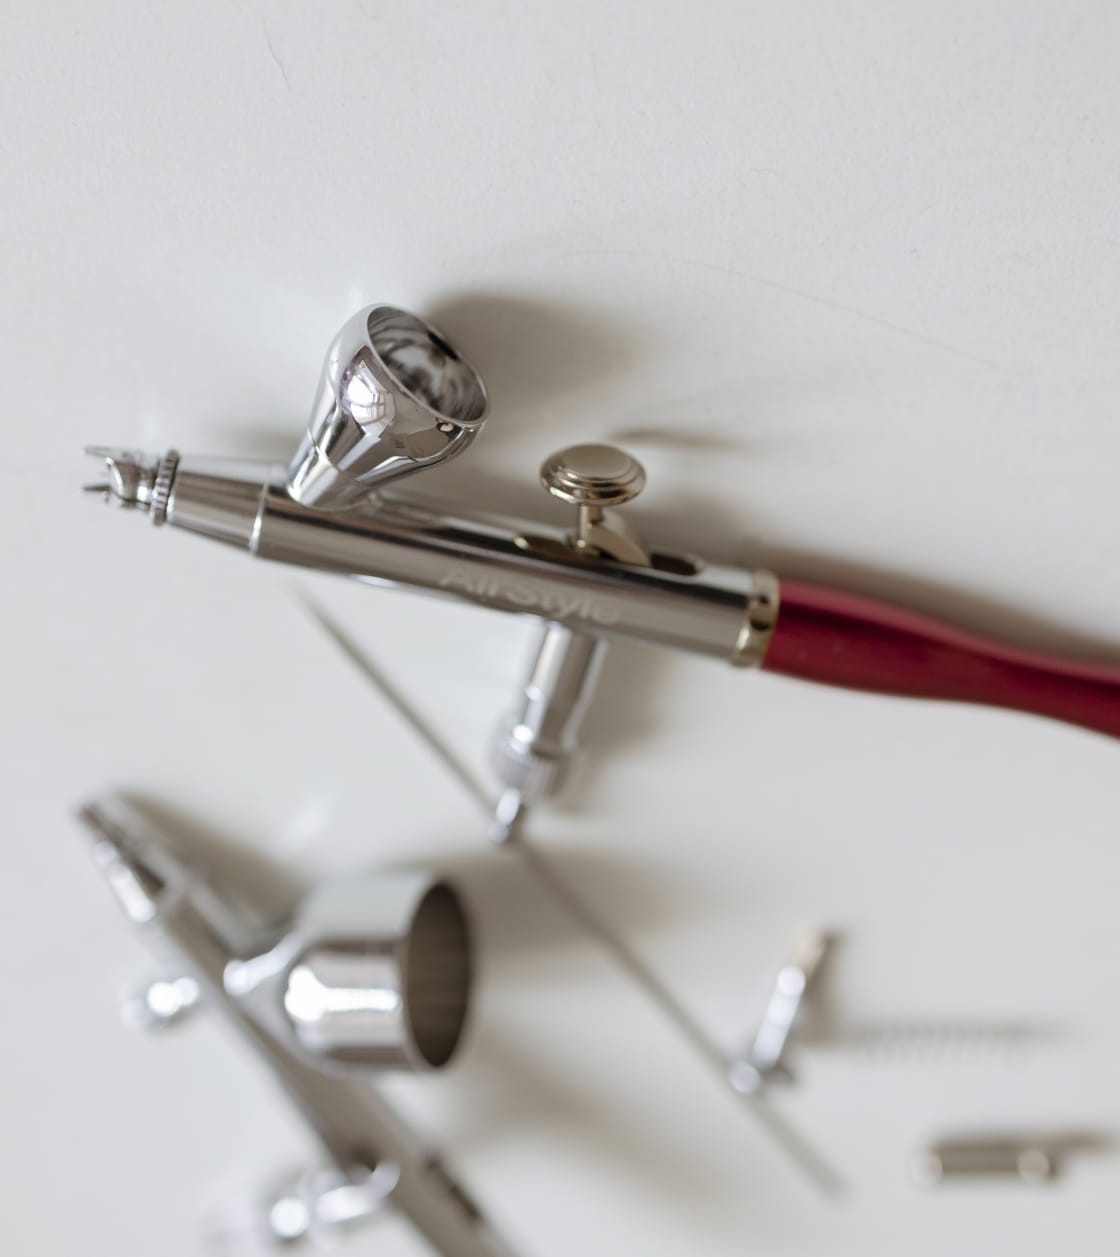
- Airbrush gun (gravity feed recommended for beginners)
- Compressor with moisture trap
- Airbrush Holder
- Beginner stencil set
- Airbrush paints
- Nail Tips
- Cleaning kit
Project 1: Simple Monogram Technique
Start with something personal but simple. A monogram uses basic shapes and letters to create custom artwork.
Prep:
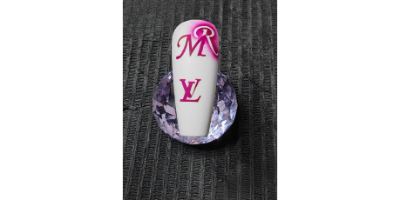
- Surface: Grab a practice surface (foil, index card, or an old nail tip).
- Protect: Lay down paper to catch overspray.
Apply Stencil:
- Peel the stencil from its backing.
- Stick it firmly onto your practice surface.
- Press down all the edges, especially the detailed parts, to create a tight seal. This replaces the need for spray adhesive.
Airbrush:
- Set up: Use airbrush paint and set your compressor to 15-20 PSI.
- Distance: Hold the airbrush 2-4 inches away from the stencil.
- Spray: Apply paint in light, even layers. Use a sweeping motion and build the colour up slowly. Don’t try to cover it in one heavy spray.
Remove & Check:
Bleeding? Happens. Next time, press the stencil edges down harder before spraying, or try holding the airbrush a little closer.
Peel: Wait a few seconds for the paint to dry, then gently peel the stencil off.
Check edges: Look for crisp lines.
Clean lines? Great job!
Project 2: Basic Camouflage Pattern
Since you are using self-adhesive stencils, we can use a technique called „layering” or „negative space” stencilling to achieve this.
1. Base Coat
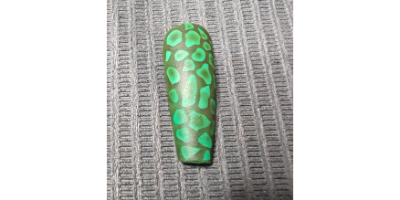
- Paint nail with the lightest colour (tan/light green). Let dry.
2. Apply Monogram First
- Stick the letter stencil exactly where you want it. Press firmly.
3. Layer Camo On Top
- Stick the first camo stencil directly over the letter stencil.
4. Spray First Colour
- Airbrush medium colour (olive green). Light coats only.
5. Remove Camo Stencil
- Peel off the camo stencil only. Letter stencil stays on.
6. Apply Second Camo
- Stick the second camo stencil on the nail. Press down.
7. Spray Second Colour
- Airbrush darkest colour (brown/dark green).
8. Reveal
Wait for dry. Peel off the second camo stencil.
- Finally, peel off the monogram stencil.
9. Top Coat
Seal design with top coat.Key Trick: Monogram stencil goes on first and stays on until the very end. This protects the base colour underneath.
Project 3: Gradation Fade with Masking
Goal: A smooth colour fade (ombre) with a sharp, clean shape (like a French tip, stripe, or geometric shape).
Base Coat
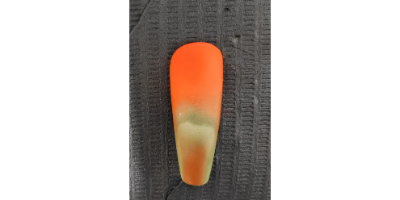
- Paint nail with the lightest colour (white, nude, or pastel). Let dry.
2. Apply Masking Stencil
- Stick masking stencil (French tip guide, half-moon shield, or vinyl tape) where you want the sharp edge to be.
- Press edges down firmly. This area will stay the base colour.
3. Prep for Fade
- Have your second colour ready in the airbrush (darker or contrasting colour).
4. Create the Fade
- Hold the airbrush at an angle, pointing toward the free edge (or area you want colored).
- Start spraying on the stencil edge and sweep away from it.
- Technique: First pass directly on the edge gives a crisp line. Subsequent passes further away build the fade.
5. Build Layers
- Apply multiple light coats, sweeping outward.
- Stop when you reach the desired opacity. Let dry briefly between coats.
6. Remove Mask
- Wait a few seconds for the paint to dry.
- Gently peel off the masking stencil.
7. Reveal
- You now have: Crisp base colour edge + smooth gradient fade into second colour.
8. Top Coat
Seal design with top coat.
Project 4: Two-Colour Flame Design
Goal: Classic hot rod-style flames with a smooth gradient between two colours.
Base Coat
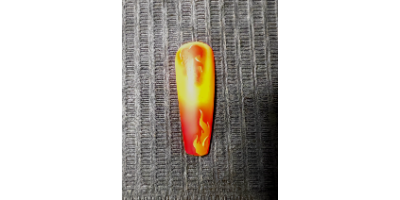
- Paint nail with the lightest colour (white, yellow, or silver). Let dry.
- This will be the inner flame colour.
2. Apply Flame Stencil
- Stick the flame stencil onto the nail. Press firmly.
- Make sure all the curvy flame edges are sealed down.
3. Spray First Colour (Inner Flame)
- Load the airbrush with your first flame colour (yellow, red, or hot pink).
- Spray lightly over the entire stencil.
- This colour goes inside the flame openings.
4. Remove Stencil
- Wait a few seconds for the paint to dry.
- Gently peel off the flame stencil.
- You now have: Base colour background + bright flames on top.
5. Apply Second Stencil (Optional Reverse Method)
Two ways to do this:
Option A: Outline Method (Easier)
- Keep the same flame stencil.
- Reposition it slightly offset (just a tiny bit) from the first flames.
- Spray a darker colour (orange, deep red, or black) lightly.
- This creates a shadow/outline effect.
Option B: Gradient Inside Flame (Smoother)
- Use a smaller flame stencil or detail shield.
- Place it inside the painted flames.
- Spray a darker colour only at the base/tips of flames for depth.
6. Build the Fade
- Hold the airbrush 2-4 inches away.
- Apply light coats, building from the edge inward.
- First pass = darker near the edge. Lighter coats toward the centre = gradient.
7. Final Reveal
- Remove any remaining stencils.
- You should have: Crisp flame shapes with smooth colour transition.
8. Top Coat
Seal design with top coat.
Project 5: Simple Skull Silhouette
Goal: A clean, solid black skull shape against a colored background.
Base Coat
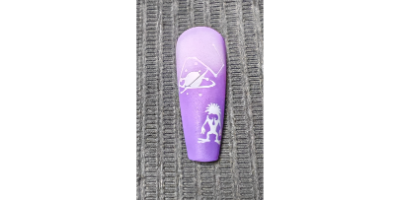
- Paint nail with your background colour (white, neon, or any bright colour). Let dry completely.
- This will be the colour behind the skull.
2. Apply Skull Stencil
- Stick the skull silhouette stencil onto the nail.
- Press firmly, especially around the eye holes and jaw area.
- The stencil covers/protects the area that will remain the background colour.
3. Prep for Skull Colour
- Load the airbrush with black paint (or dark colour for the skull).
4. Spray the Skull
- Hold the airbrush 2-4 inches away.
- Spray evenly over the entire nail.
- Apply light coats until black is solid and opaque.
- The stencil blocks paint = background colour stays underneath.
5. Remove Stencil
- Wait a few seconds for the paint to dry.
- Gently peel off the skull stencil.
6. Reveal
- You now have: Crisp skull silhouette in black + background colour showing through.
7. Optional Detail (Eyes/Mouth)
- If the stencil had inner details (eyes/nose):
- They will be background colour showing through.
- Can leave as is or hand-paint tiny dots later.
8. Top Coat
Seal design with top coat.
KEY TRICKS
Why is knowledge is = practice? The more you practice, the more your hands learn what works best for your unique style.
Angle matters: Spray toward the area you want colored, not straight down.
Start at the edge: First pass should hit the stencil edge directly for a crisp line.
Sweep outward: Move the gun away as you spray to create the fade effect.
Light coats: Build slowly. Heavy coats ruin the gradient and can cause bleeding.
Light to dark: Always spray lighter colours first, darker colours on top.
Offset for depth: Slightly moving the stencil creates a 3D shadow effect.
Directional spraying: Angle the brush toward the area you want darker.
Build slowly: Flames look best with smooth transitions, not harsh lines. Work in thin, gradual layers rather than heavy coats to maintain crisp edges and avoid bleeding. Position your airbrush at a consistent distance and angle for uniform coverage across the design. Taking a few seconds to press down every edge of the stencil before spraying makes the difference between a sharp finish and a messy one.
Common Beginner Mistakes & How to Fix Them
Here are 10 Common Beginner Mistakes & How to Fix Them:
1. Too much paint at once
- Solution: Spray light coats from 6-8 inches away. Let each coat dry for 30 seconds before adding more.
2. Stencil not sticking properly
- Solution: Use low-tack adhesive spray and ensure the surface is clean and dry.
3. Paint bleeding under stencil
- Solution: Press edges down firmly or use frisket film for complex shapes.
4. Rushing the process
- Solution: Patience is key. Let the paint dry completely before removing stencils.
5. Airbrush too close to the surface
- Solution: Maintain a 4-6-inch distance. Too close causes splatters and drips.
6. Airbrush too far from the surface
- Solution: Holding too far creates a grainy texture and fuzzy edges. Keep within 6-8 inches.
7. Not cleaning the airbrush between colours
- Solution: Flush with cleaner until it runs clear. Dirty brush = muddy colours and clogs.
8. Stencil lifted while spraying
- Solution: Lower PSI to 15-20. High pressure blows stencil edges up.
9. Peeling stencil too soon
- Solution: Wait 30-60 seconds for the paint to set. Wet paint = smudged design.
10. Skipping practice on paper first
Solution: Test spray pattern and opacity on paper before touching the nail.
Enjoy
20% Off